

Our master bathroom had always been a project I was dying to take on, yet very hesitant to tackle. Bathrooms can become one of the most costly rooms to renovate, despite their small size. With major plumbing running throughout, potential tile work, and constant exposure to water & humidity, there can be unexpected surprises hiding behind the surface.
Knowing this, I decided from the get-go that a complete master bathroom remodel wasn't in the cards for me. I was looking for a passion project that I could manage on my own in a timely manner. I've only recently dipped my toes into the whole DIY thing, so I didn't want to fool with the "big stuff" quite yet... Just wanted to prove [mostly to myself] that you can add value to your home & love a space again without having to demolish it entirely.
Decor and small cosmetic updates can go a LONG way for any room--and it doesn't have to hurt your wallet! I was able to renovate my master bathroom for under $500.... Including mistakes! Below, I'll show you all the details, cost breakdowns, and link my project tutorials & tips so you have everything you need to transform your own space! I truly mean it when I say, "If I can do it, anyone can!"
Here's an overview of what's in store below so you can skip around to the parts that you're most interested in:
THE BEFORE
CHOOSING WHAT TO CHANGE
CREATING THE VISION
SMALL, BUT MIGHTY CHANGES
- Prepping the Vanity
- Painting the Vanity
- Installing new lighting
- Finishing touches
THE "AFTER"
LINKS & COST BREAKDOWN
Now, without further ado...
THE "BEFORE"


The master bathroom wasn't terrible to begin with, but definitely needed some love. For the most part, our home is pretty neutral--from the paint to the furniture and decor choices--so I wanted our master bathroom to look cohesive with the rest of the house.
I believe the vanity is from the home's original build [since it matches the other 2 bathrooms in our home]. I considered removing it entirely, but was concerned about needing to replace the flooring. Removing it allowed more room for error, so I told myself I would give the DIY-ing a shot, and if I messed up or didn't like the outcome, then I could look into changing it. Spoiler: I am really happy I didn't get rid of it.
CHOOSING WHAT TO CHANGE
Below is a breakdown of what I planned to change and what I wanted to keep the same. This list helped me focus on what I needed to make decisions on so I could form a plan.
Changing
- Vanity Color
- Cabinet Hardware
- Toilet Paper Holder [attached to vanity]
- Light Switches & Outlets
- Vanity Light Fixture
- Decor
Leaving
- Wall Color [Exact Color Here]
- Flooring [Installed by previous owner]
- Shower
- Vanity [structure]
- Faucets [Upgraded about a year ago with these]
- Toilet
- Mirror [debated on this one... maybe next time lol]
CREATING THE VISION
Now that I knew what was changing, it was time to create the vision. I scoured the internet for real, obtainable pieces that I could pair together and created a mood board, essentially. I was able to rule out what I liked and didn't like before purchasing anything, as well as make my final picks for what I would actually purchase. I knew there was a chance I could change my mind after seeing something in person, but this gave me a place to start.

SMALL, BUT MIGHTY CHANGES
Painting the Vanity


Installing New Lighting
Finishing Touches
THE "AFTER"


LINKS & COST BREAKDOWN

LINKED MATERIALS & COST BREAKDOWN
Vanity - $81
Vanity Prepping - $37.66
- Wood Filler: $5.78
- Liquid Sandpaper: $8.97
- Scotch-Brite Scour Pads: $5.98
- Disposable Gloves: $3.98
- 3M 320 Grit SandPaper: $5.98
- Liquid TSP Substitute $6.97
- 1 Qt Behr Paint in Greyhound: $25.98
- Paintbrush: $9.97
- Mini Paint Roller Cover: $4.69
- Paint Tray Liners: $3.48
- Painters Tape [already owned]
- Mini Paint Roller [already owned]
- Paint Roller Tray [already owned]
- Shower Curtain: $24.99 (no longer available)
- Rug: $42
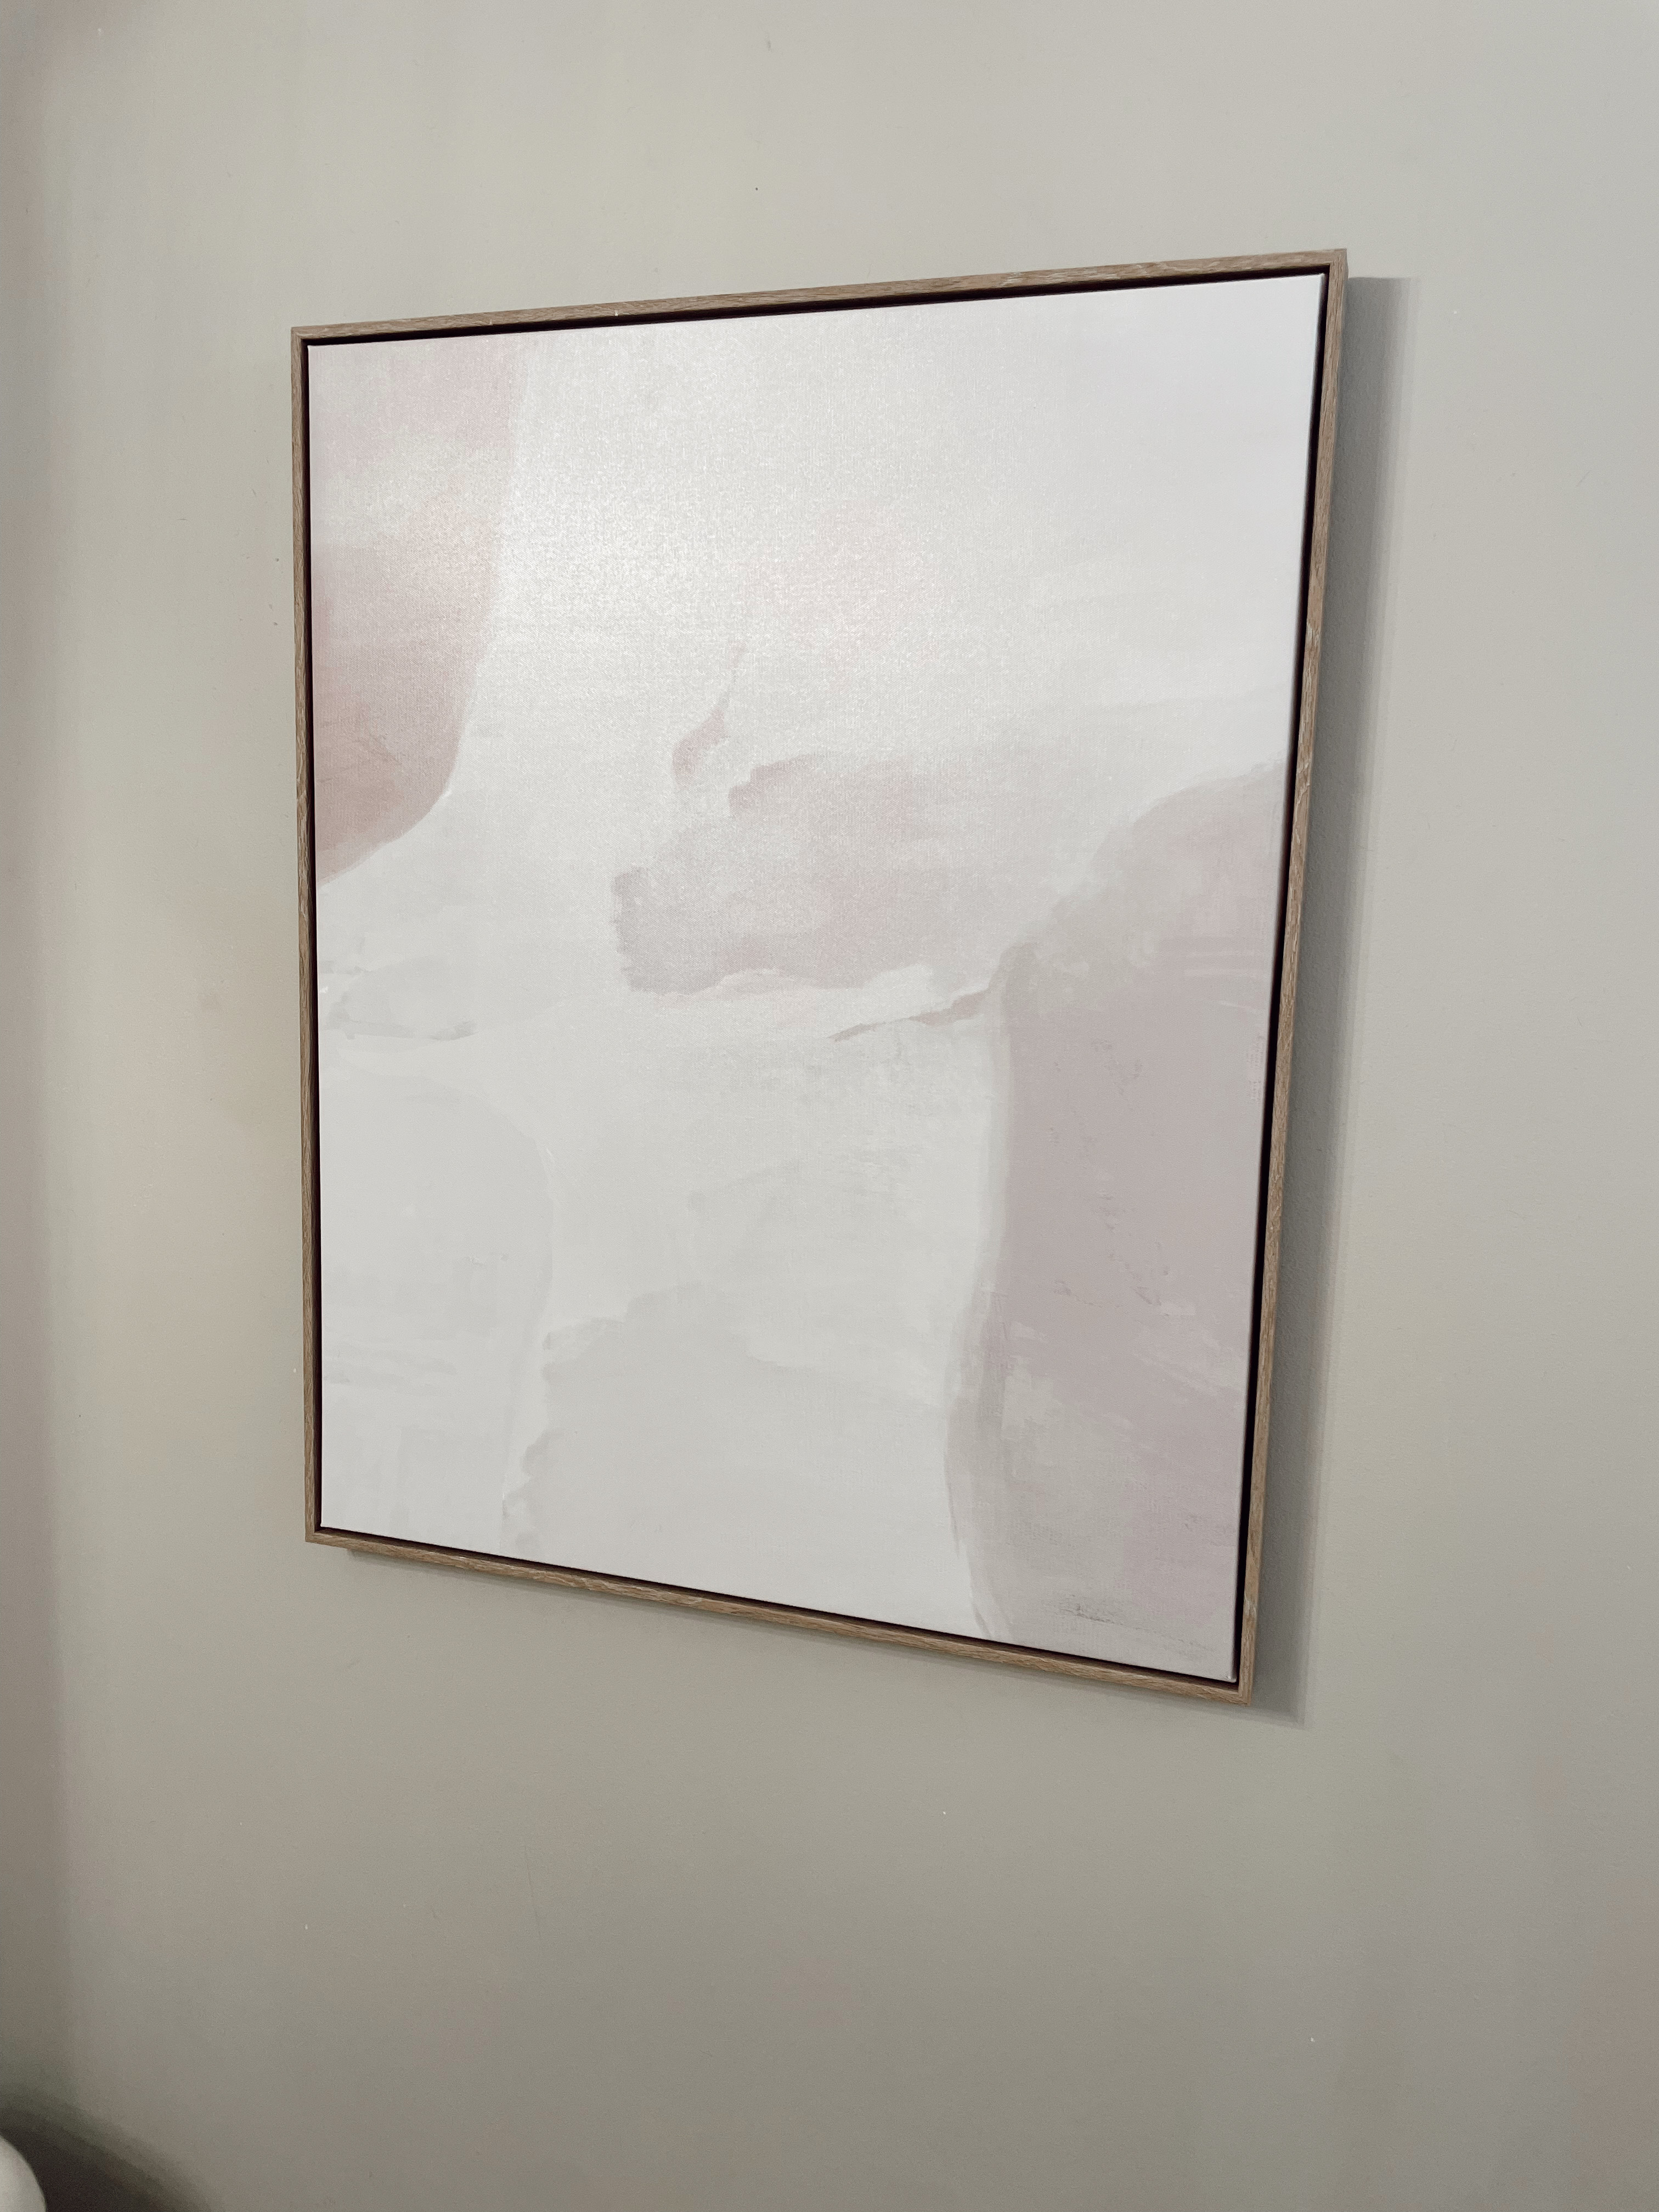
- Artwork: $50
- Cabinet Hardware: $12.87
- Flush Sign: $14.99
- Light Fixture: $79.91
- Outlet Receptacle & Cover: $18.89
- Light Switches: $11.19 [3.73/ea.]
- Towel Ring & Toilet Paper Holder: $17.99
- Hand Towels: $3.00
Unplanned - $35.97
- First Cabinet Paint Color: $31
- Total Vanity Electrical Rework: $4.97 (thanks to my Dad for having supplies)
Post a Comment